
How to make a simple plastermould for slipcasting ceramic by plastercasting

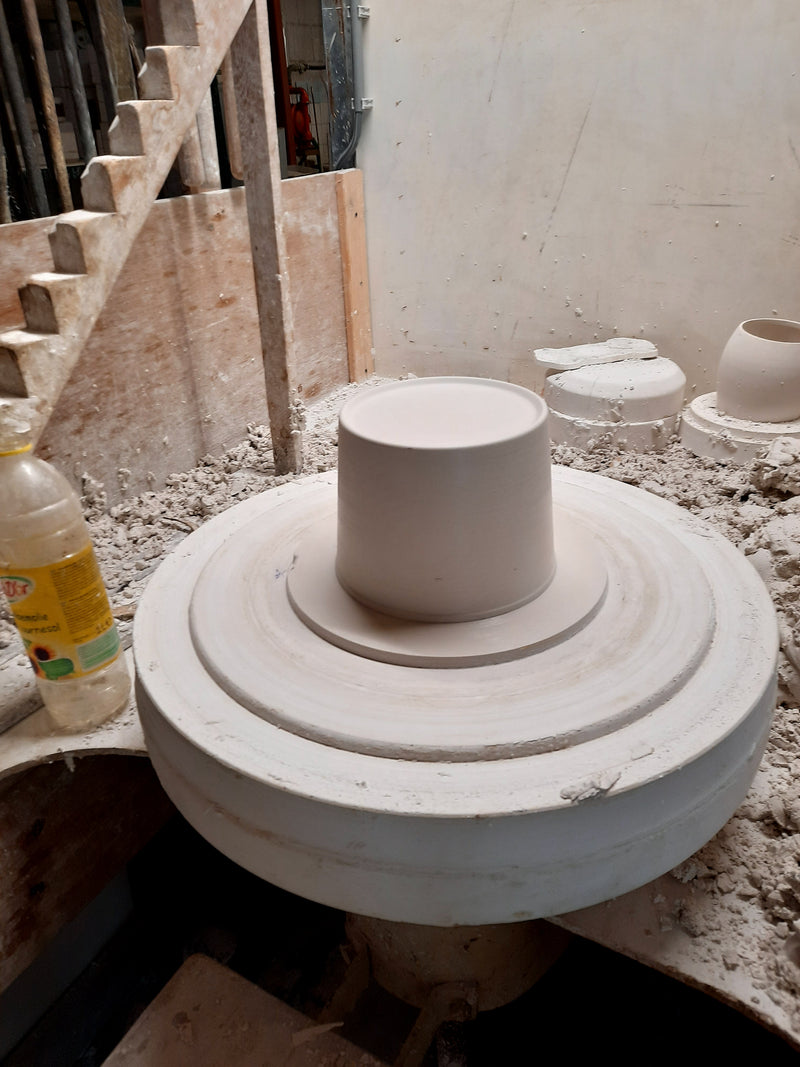
This vid shows how we cast plaster into a simple positive mold. This is calles the master mold, consisting of a plaster core and surrounded by an improvised metal holder. The plaster core has been made beforehand on a turning wheel and cut in the right shape and measurements. This had been done in plaster during the short time before the plaster hardens. Afterwards the multiple negative molds are being cast one at a time as can be seen in this instuction video.
The purpose is to make a dozen molds from gypsum that will be used in our ceramic workhop. This allows us to cast each mold with liquid clay (slipcasting). Leave tclay filled mold for about 40 minutes and then -when the porous plaster has absorbed just the right amount of water from the liquid clay- and a clay crust has developed the excess clay will be poured out of the mold.
In a few hours the crust can be released from the mould and thus a piece of ceramic greenware in the shape of the original first master mold has been created, ready to be fired in the ceramic kiln.
As an example with 12 mold drawn from a master mold we could slipcast 24 pieces of clay by slipcastong twice a working day. This technique works well when procucing series of one to a few hundred pieces in a relatively short time.
After the first fire, called the bisque fire, the ceramique is ready to be decorated, glazed and at last being fired for the second time, called the glaze fire at an even higher temperature then the fist fire. You will find more explaining videos and pictures from our delft pottery in this section of our website: Delftblue pottery - Watch here how is it made? (dutchceramics.com)